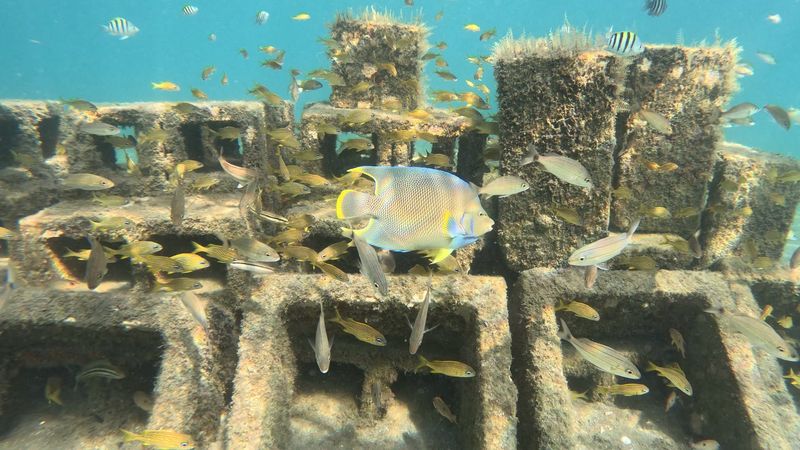
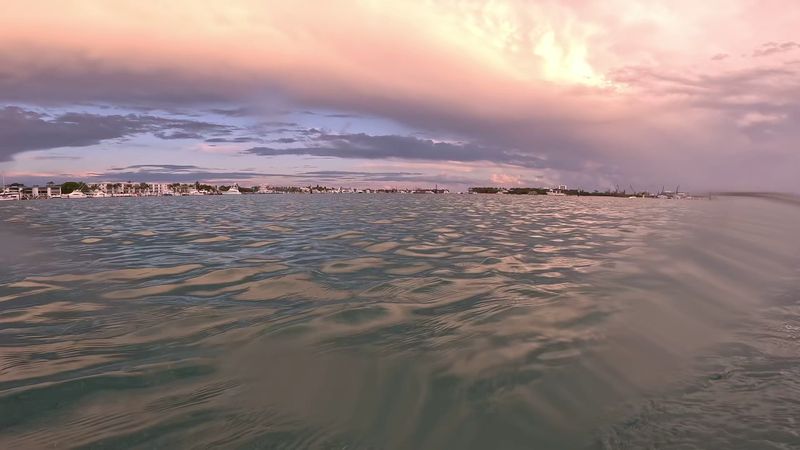
If you have a mask and a free morning, Phil Foster Snorkel Trail rewards you with aquarium-clear moments and big ocean energy right from shore. The artificial reef modules, bridge pylons, and sandy patches invite close passes from seahorses, rays, octopus, and surprise visitors like manatees.
Time it right and the water turns dazzling, calm, and photogenic without paying for a boat ride. Here is exactly how to get the best experience without guesswork.
Perfecting Tide Timing For Crystal-Clear Water

Local wisdom says the Phil Foster Snorkel Trail shines at slack high tide. That brief window calms currents and pulls in ocean-clear water from the inlet, boosting visibility from meh to postcard-blue.
Plan to enter 30 to 45 minutes before high tide, then drift the reef modules as flow eases. If tide charts look confusing, use Palm Beach tide stations and match them to the Blue Heron Bridge window.
Parking fills quickly on weekends, so arrive early and stage gear before the crowd stacks up. You will thank yourself when high tide hits and you are already floating above seahorses and rays.
If visibility looks iffy, wait ten minutes after peak to let silt settle, then zigzag between snorkel trail markers to find the clearest lanes.
Night snorkelers time their entry for the evening peak, bringing brighter beams and signaling devices to stay visible under the bridge. Day or night, set a turnaround time, note your entry point, and track slack’s change by feel on your cheeks.
When current returns, hug the shoreline for an easier kick back to the beach, log conditions, and plan your next perfect tide. Small tweaks here make every minute in-water truly count today.
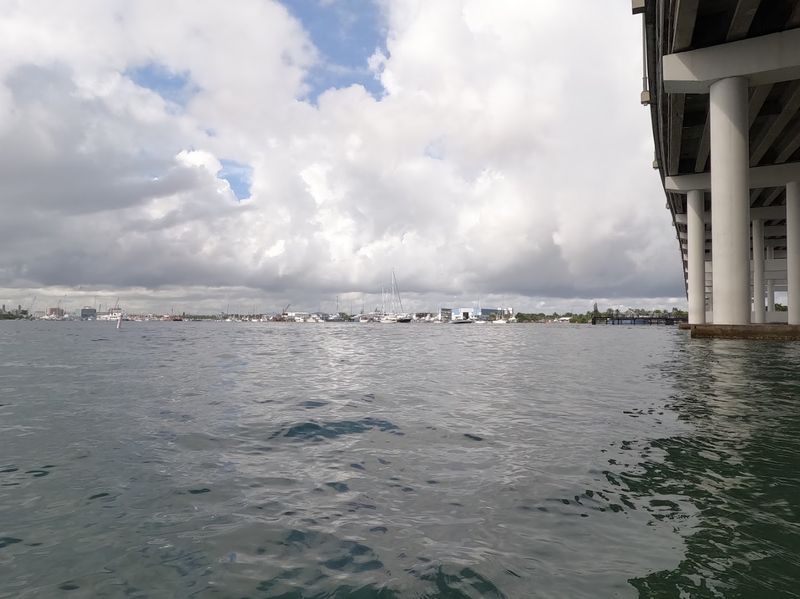
Getting There, Parking, And Shore Entry
Beat the bottleneck by arriving early, especially on weekends and holidays. The park’s lots can fill fast once the tide window approaches, and circling wastes the clearest minutes of your session.
Stage fins, mask, and snorkel at the beach before suiting up, then lock valuables out of sight. A quick checklist on the tailgate saves frantic back-and-forth as the tide turns perfect.
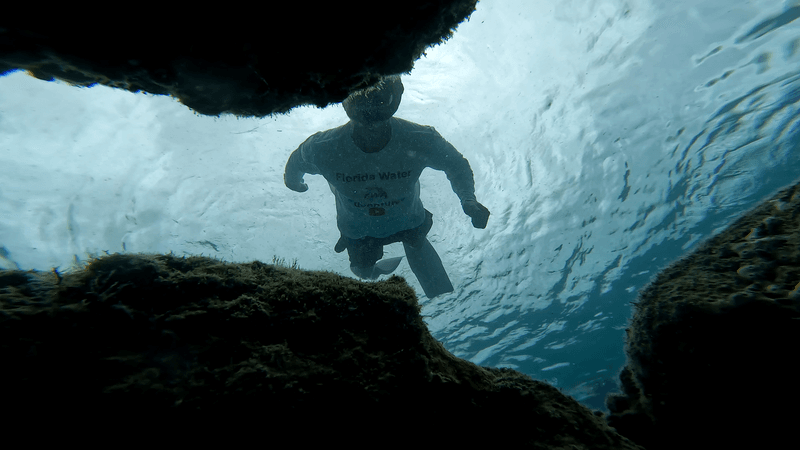
Entry is a simple shoreline walk-in with firm sand, ideal for first-timers and kids. Use the swim buoys and posted maps to orient toward the artificial reef modules offshore.
Keep your head on a swivel for paddle craft, photographers, and instructors coaching students near the pylons. A bright snorkel or surface marker makes you easier to spot in the crowd.
Traffic builds near midday, so think sunrise or late afternoon for a calmer scene. If an afternoon visit is your only option, expect slightly milkier water and plan extra patience around the swim zone.
After your snorkel, rinse gear at the park and log what you saw while it is fresh. Clear notes on entry points, wind direction, and crowds will sharpen your next visit.
Essential Gear Checklist That Actually Matters
Skip the bulky extras and focus on comfort and visibility. A snug low-volume mask, simple snorkel, and fins with good thrust make currents manageable and reduce fatigue.
Add reliable defog, reef-safe sunscreen, and a compact mesh bag for quick transitions. If you chill easily, a thin shorty or rashguard keeps you warm enough to linger by the pylons and modules.
Safety signaling deserves a spot in your kit. Bring a whistle, small surface marker, and high-visibility snorkel top so boaters and paddlers see you from a distance.
Experienced snorkelers stash a compact cutting tool because stray fishing line can appear around bridge structure. A lightweight light for twilight or night tours opens a whole new cast of critters.
Pack hydration and a labeled bottle since salt and sun add up fast. A small dry bag protects keys and phone, and a microfiber towel speeds the changeover.
Test-fit everything in the parking lot and defog before walking to the waterline. Those two quiet minutes can prevent leaking masks, fogged lenses, and a short session that leaves you wishing for a redo.
Reading Conditions: Wind, Visibility, And Boat Traffic
Glassier water usually follows light morning winds and a clean incoming tide. Check the inlet for whitecaps and the beach for wind direction before suiting up.
East or onshore winds can push a little chop inside, while calm mornings often deliver that magical aquarium feel. Visibility still shifts minute by minute, so commit to patient, slow passes along structure.
Boat and paddle traffic concentrate near channels and bridge spans. Stay inside swim-zone markers, keep your ears open, and surface slowly when you need to reorient.
If conditions turn murky, work tighter to the reef modules where fish still use nooks and edges. You will often find a surprisingly clear pocket by changing depth or angle a few feet.
Sunglasses on shore help read surface texture and spot slicks that hint at calmer water. After your swim, jot wind speed, direction, and a quick visibility estimate in your notes.
Patterns reveal themselves across visits, guiding your future start times. With a little detective work, you will pick the winners and skip the shrug days.
Route Strategy For The Artificial Reef Modules
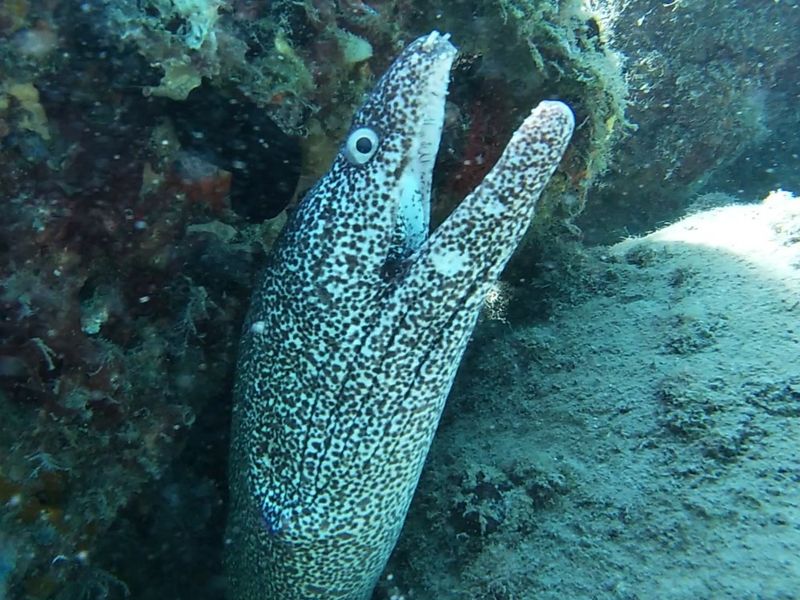
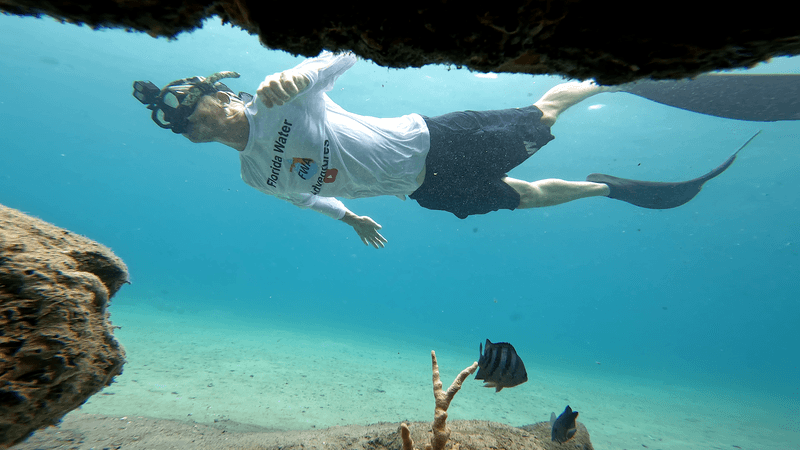
Starting straight out from the swim area, the trail’s concrete modules create a visual breadcrumb line. Instead of sprinting, slow your kick and scan shadow edges where octopus and eels tuck away.
Work the perimeter, then cross diagonally to new pieces while keeping a mental map to the beach. Small detours pay off when a camouflaged scorpionfish or shy seahorse reveals itself.
Make overlapping passes because fresh angles bring out hidden color and form. Fish settle again if you ease off for a minute, letting you slide closer for a good look.
If current picks up, angle your body and use modules as windbreaks, pausing in the lee to rest. Photographers should plan return laps once the crowd thins.
As visibility shifts, alternate between midwater glides and slow crawls along structure. A gentle hand wave can coax blennies from holes without touching the reef.
When it is time to head in, track the nearest buoy and confirm landmarks above. A short surface swim aligned with the beach spares your legs and ends the session smiling.
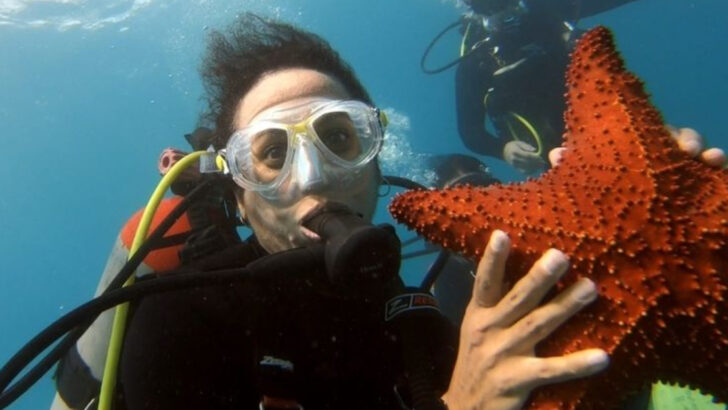
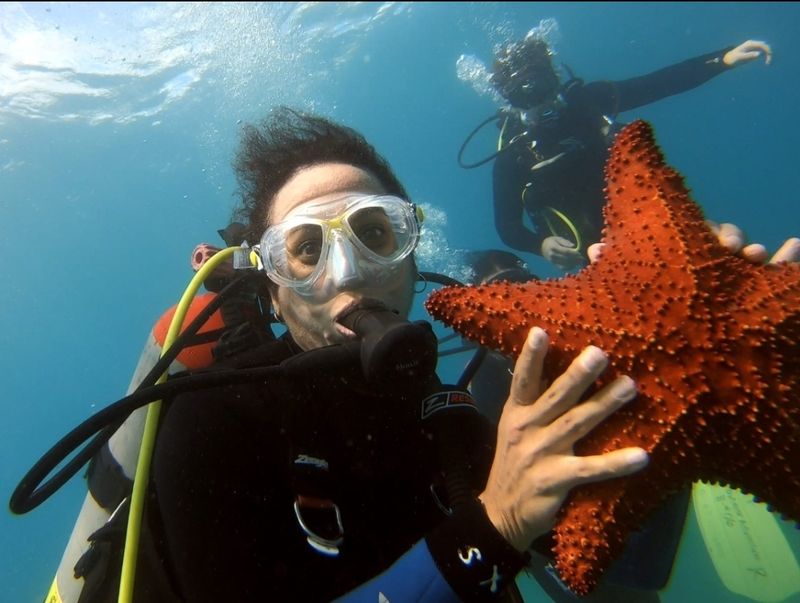
Wildlife Highlights You Can Actually Spot
Seahorses steal hearts here, gripping grass or rubble with their tails as if posing. Octopus patrol the sandy seams and will flash pattern changes if you keep distance and move slowly.
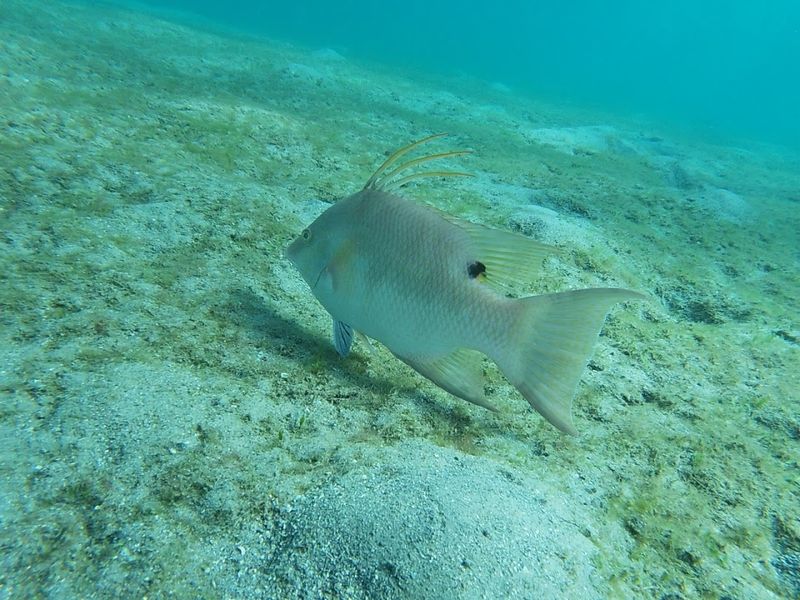
Rays cruise low like flying carpets, lifting puffs of sand as they hunt for snacks. Keep scanning the water column too, since jacks and barracuda cut through without warning.
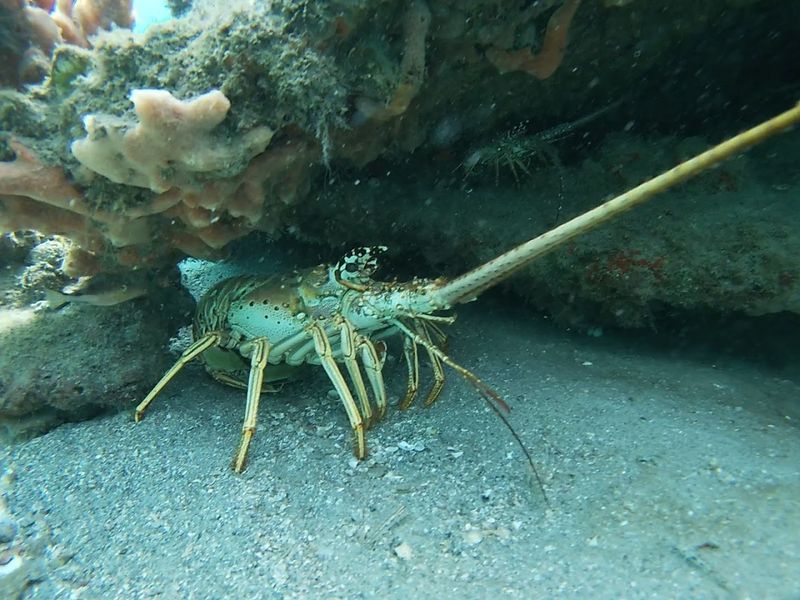
Under modules, look for decorator crabs and sleepy scorpionfish that vanish until they twitch. Blennies tilt from holes, puffers grin, and parrotfish clack along growth that is reclaiming the concrete.
Late summer sometimes brings turtles or a surprise manatee gliding past the swim zone. Night sessions swap the cast for squid, shrimp, and bizarre macro moments.
For a respectful close pass, hover still and let fish make the decision. Backfin gently if an animal seems agitated, and never chase for a photo.
You will see more by being a quiet neighbor than a pursuer. That patient approach turns a good session into a string of memorable close-ups.
Photography And Video Tips
Great footage starts with stable buoyancy and slow movement. Tuck elbows, steady your breathing, and let subjects come to you.
For color, shoot shallow with the sun at your back, or add a small video light to punch reds back into the scene. If backscatter shows up, angle the light off-axis and close the distance.
Macro opportunities pop on almost every lap. Switch your camera to a higher frame rate for quick fish passes and record a few long takes so behavior unfolds.
A red filter helps in midday clarity but can muddle colors near sunset, so try a short test clip first. Clean your lens between laps because salt mist builds fast around the beach.
Respect the swim zone and keep situational awareness while filming. Avoid planting fins on the bottom, which blows silt into your own shot and someone else’s.
Quiet, consistent approaches yield natural behavior and better stories later. Back on shore, note the time, tide, and gear settings so the next session starts dialed.
Safety, Rules, And Local Etiquette
Simple habits keep sessions smooth for everyone around the bridge. Stay inside the swim zone unless you have training and signaling gear, and avoid the boating channel.
Snorkel with a buddy, agree on a max distance, and set a turnaround time. Surface slowly, listen for motors, and raise a hand if you need a visual from shore.
Local etiquette is friendly and practical. Give photographers space, do not crowd instructors, and wait your turn at popular modules.
Keep hands off structure and marine life. Fishing happens nearby, so watch for lines and jigs, and carry a compact cutter to free accidental snags without drama.
Leave no trace on shore: pack out snacks, line, and defog wipes. Use reef-safe sunscreen and suit up at the car to avoid gear clutter near the entry.
If a storm rolls in, head for the beach and reassess another tide. Those choices protect access and preserve the relaxed vibe that makes this spot special.
Best Seasons, Times Of Day, And Water Temps
Winter brings crisp visibility and cooler temps, while summer adds warmth and bigger crowds. Expect roughly low 70s in cooler months and low 80s in peak summer, so match exposure protection to comfort.
Early mornings often deliver calmer wind, smaller crowds, and the most unrushed parking. Evening high tides can be spectacular with soft light and active critters.
Stormy stretches or strong onshore wind will haze things up. On those days, patience around peak can still produce a clean hour of snorkeling.
If you are traveling, give yourself two possible tide windows to hedge against weather or parking surprises. Locals often watch the forecast, then pounce on the first quiet morning after a front.
Season aside, tide trumps everything here. Pick your slot, arrive early, and commit to an unhurried pace along the modules.
Warm up on the inner pieces, then head to deeper sections once your breathing settles. With that rhythm, you string together those aquarium moments people rave about.
Guided Tours, Night Sessions, And Rentals Nearby
First-timers often start with a guided lap to learn the modules, currents, and local signals. A pro sets the pace, points out hidden critters, and keeps the group tucked neatly inside the swim zone.
After that, renting fins and a mask for follow-up laps becomes easy. The learning curve compresses when someone shows you where seahorses actually cling.
Night sessions feel magical and demand bright lights, backup batteries, and clear buddy communication. Guides manage spacing and navigation under the bridge so you can focus on wildlife.
Expect squid, shrimp, and color-popping macro scenes you miss under noon sun. If you are new to night water, stay conservative and practice light-hand signals on shore first.
Gear shops in the area offer rentals, defog, and last-minute spares. Ask about tide timing and current reports when you pick up equipment.
Those nuggets help you land the session everyone hopes for. Then return your kit rinsed so you are welcome back next trip.
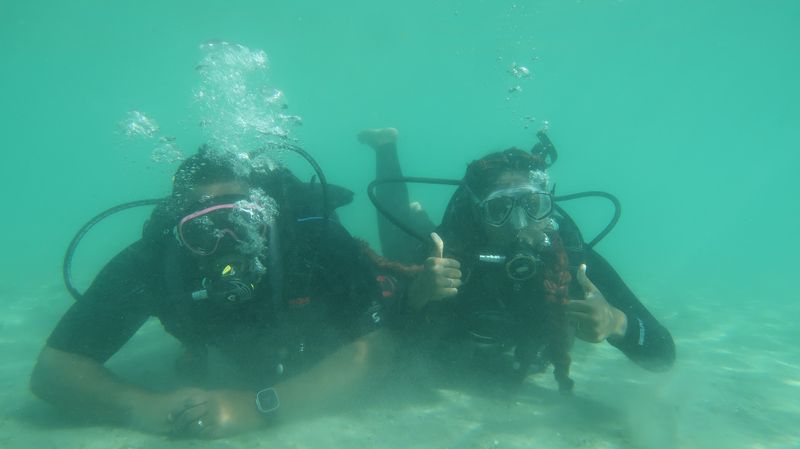
Family-Friendly Tips For Kids And New Snorkelers
Shore entry, shallow depths, and protective swim zones make this an easy confidence builder. Start in knee-deep water and practice clearing masks before heading to the modules.
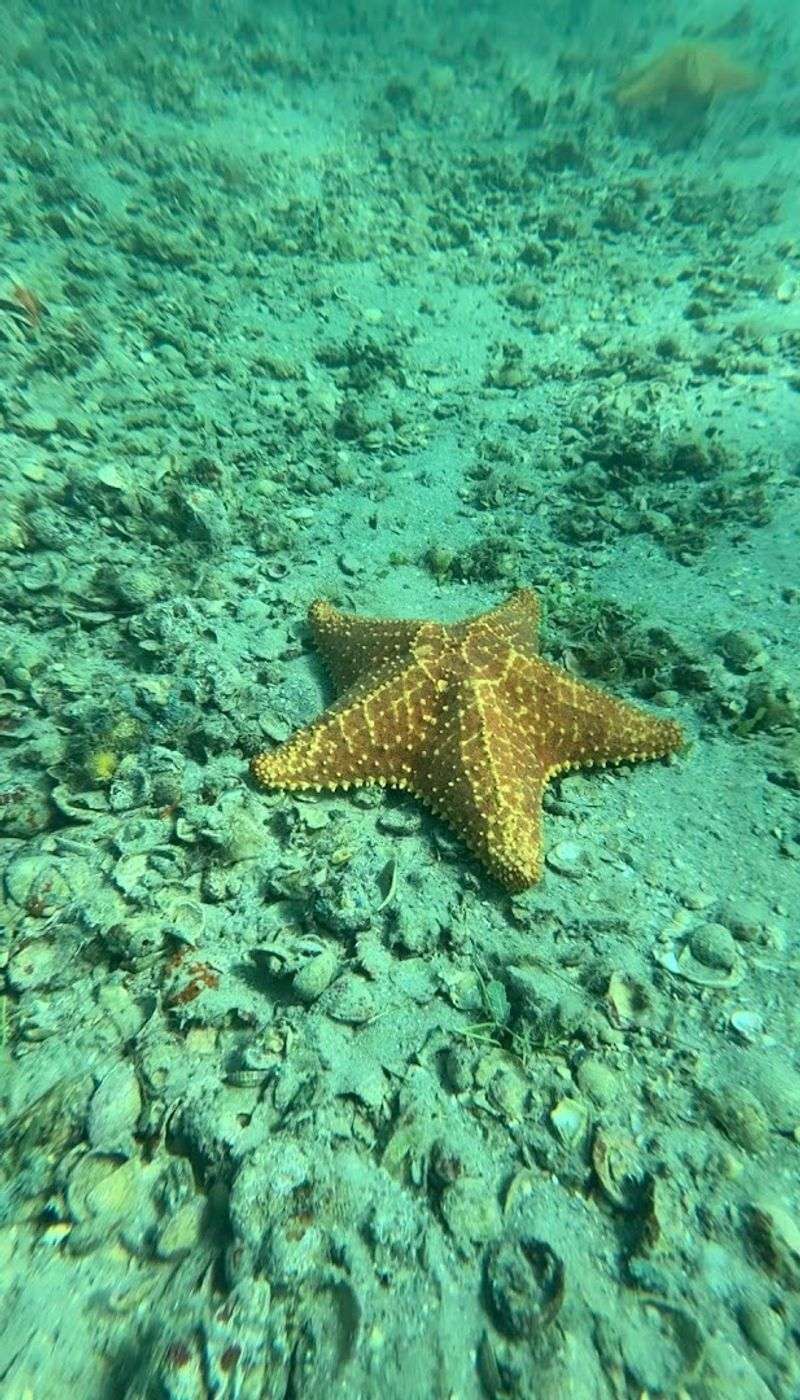
A shorty, snug mask, and soft fins keep kids happy long enough to see sergeant majors and starfish. Keep sessions short at first so excitement outruns fatigue.
Pick quieter windows and position near the inner trail pieces for simple navigation. A bright noodle or small float gives a visible rest point during the lap.
Teach a simple buddy check: mask seal, snorkel angle, fin straps, okay sign. Between passes, snack, hydrate, and reapply reef-safe sunscreen on the shoulders and back.
Set one or two goals, like spotting a pufferfish or counting parrotfish, and celebrate the wins. If visibility dips, frame it as a treasure hunt along the bottom ripples.
Head back the moment shivers start, then return on the next good tide. Positive memories today build the confident snorkelers you will trust around the bridge tomorrow.
Costs, Free Access, And Handy Amenities
The beauty here is how much you get without paying for a boat seat. Public access, beach entry, and the trail’s nearshore layout keep costs low.
Budget for gas, snacks, and perhaps a rental mask or fins if you are traveling light. Free rinses at outdoor showers and nearby restrooms simplify the post-snorkel shuffle.
A small mesh bag carries everything from defog to a compact towel. Picnic tables make perfect staging for gear checks and quick breaks between laps.
Keep cash or a card handy for a backup rental or a last-minute defog bottle if yours runs out. Thoughtful packing means more time watching rays rather than hunting for tape and straps.
If you plan multiple sessions, note what you actually used and trim the rest. Repeat visits often reveal that a tight, lightweight kit feels best on the walk from the car.
Save your splurge for a better light or a comfortable shorty. Those upgrades stretch your in-water minutes and your smiles per tide.
Responsible Wildlife Viewing And Conservation
Gentle choices protect the animals that make this place special. Hover a foot above the bottom and steer clear of contact with modules or growth.
Use only reef-safe sunscreen and let it soak in before entering. Keep fingers tucked and resist the temptation to reposition critters for photos.
Pack a small cutting tool to free snagged line only if it is safe. Leave hooks and lures in place if fish are attached, and alert park staff or experienced locals.
A mesh pocket holds small trash, which you can empty at the bins on shore. You will be surprised how often a wrapper or tie appears by the pylons.
Share space with patience and signal your buddy before closing on an animal. If a fish flares fins or changes breathing, back away and give it room.
The result is calmer behavior, closer passes, and better memories. Conservation here is practical kindness that keeps this free trail extraordinary for the next visitor.